
Father’s Day Gift Guide For Carpenters
Father’s Day is just around the corner, and it’s time to show appreciation for the man who has always been there to fix things around
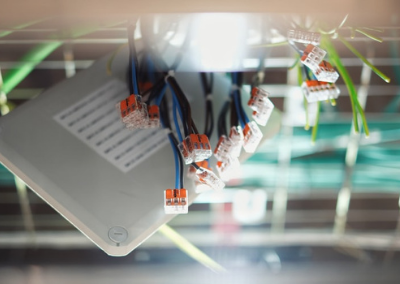
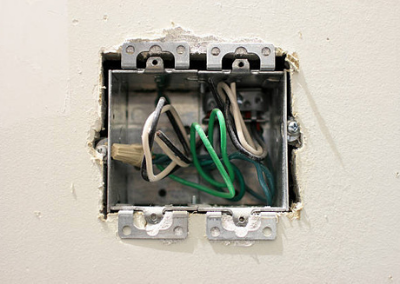
Certain household jobs can make us feel accomplished. Replacing the electrical switches is one of them.


(istockphoto.com)
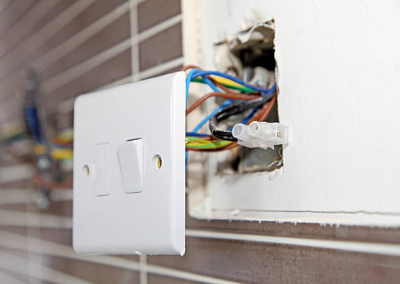
According to the National Fire Protection Association, more than 45,000 homes report fire due to electrical faults in the U.S.A. It is important to safeguard your home from such fires, which we can prevent by being cautious about doing regular electrical checks. Also, read this blog to learn what are electrician tools that you should have in your toolbox.
Electricians wear tool belt to protect and keep safe their tools when working on a task.
Father’s Day is just around the corner, and it’s time to show appreciation for the man who has always been there to fix things around

The importance of safety on the job cannot be overstated. A safe work environment protects employees from harm, reduces the likelihood of workplace accidents, and

Tool belt accessories are designed to provide additional storage, organization, and convenience for workers, carpenters, and DIYers who need to carry tools and supplies on

A tool belt is an essential piece of equipment for many trades and DIY projects. A tool belt that is organized allows you to keep

Tool belts are an essential part of any construction project. They help you work more efficiently and safely while on the job. A tool belt

There are different types of tool belts. The tool belt is a fantastic item to carry all the necessary tools at hand. It is much